


This article aims to communicate architectural project phases in such a way that it’s more understandable and accessible to people.
So here goes…the quick and dirty guide to the architectural process.
This is just our process, it’s not the right way or the wrong way to design and it’s certainly not the only way. Put ten architects in a room together and you’ll get ten different processes (in addition to a bunch of black turtle necks and acronyms you’ve never heard of).
Step 1: Interview and initial discussions
Often a couple of architects are interviewed, the homeowner(s) and the architect(s) figure out if there is a good fit with one another. Sometimes a homeowner just knows who they want to partner with (based on a raving recommendation or a specific design philosophy, etc.) and they skip the interview step. Typically the architects have a portfolio of past projects to review and possibly examples of their process.
Step 2: Information gathering + documentation
Homeowner goals, needs and requirements are discussed.
The architects visit the site, review the existing conditions and take as-built measurements of what is there (existing home/property).
A set of as-built plans are created and a copy is given to the homeowner for their records. These are simple floor plans and exterior elevations – a minimal set showing what currently exists on site and nothing more.
A surveyor is typically contacted at this stage and scheduled to produce a site survey – this survey is eventually incorporated into the as-built documents.
The architects gather information from state and city agencies regarding specific land use and building code requirements as well as pre-submittal and pre-permit procedures.
The architects also create a work plan to outline what will be done and by when.

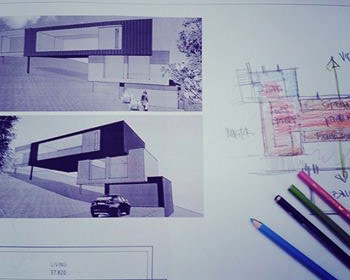
Step 3: Schematic Design and Feasibility
The architects generate 2-3 preliminary designs incorporating the information from step two.
At this stage the architects are also bringing design concepts to the table.
The architects explore the sequence of how you approach the house and move through the house. How the home is experienced is a focus of this stage.
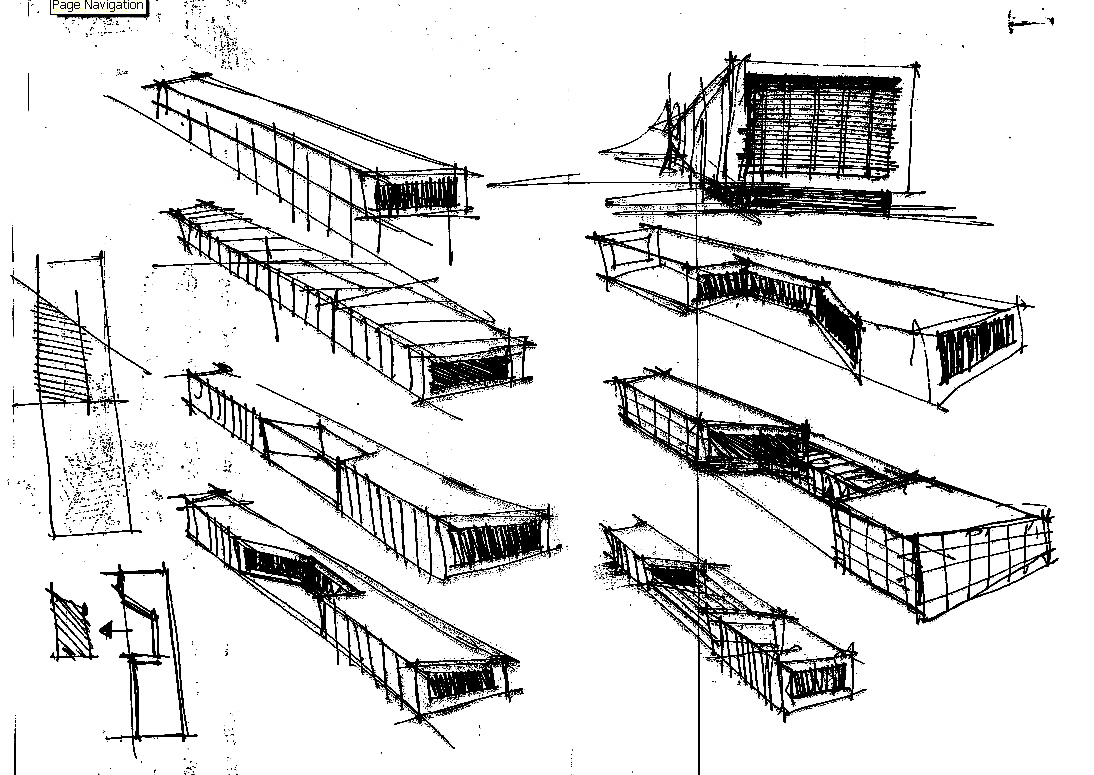
The general locations of the functions within the house are considered and graphically represented in diagram form. The graphics, illustrations and sketches are just diagrams at this stage – it’s not architecture yet. Simple plans and elevations are produced to represent relationships among spaces and the basic envelope shape.
The homeowner makes decisions with help from the architects regarding the various schematic options.
Step 4: Design Development + Permit Documents
As decisions continue to be made, the architects develop the schematic drawings into permit documents.
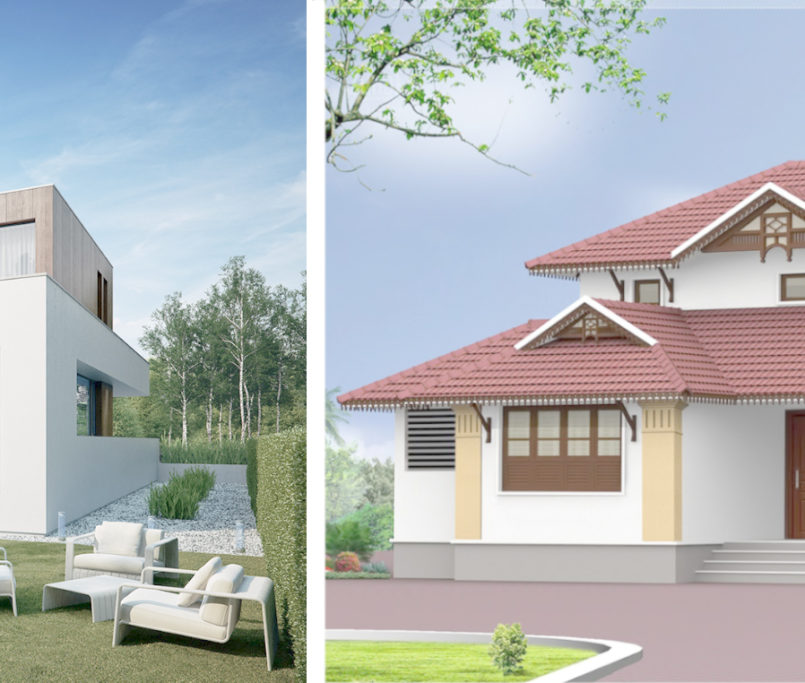
The graphics evolve from diagrams to actual architecture at this step. The drawings are refined in regards to details and methods.
Materials are decided on and the architects figure out how everything fits together.
Window openings are further defined with mullions and opening locations.
Information from other consultants, like the structural engineer, is developed and coordinated with the design drawings. Specifications for materials, fixtures/ appliances, assembly details, and relevant code information are incorporated into the project. Recommendations from trades, suppliers, and manufacturers are added to the drawing set.
The homeowner continues to make decisions at a more specific level of detail.
Step 5: Construction Documents + Permit Acquisition
A set of permit drawings is a simplified construction set.
The permit documents are used to submit, coordinate, and obtain the building permit from the council or shire. The city/council doesn’t typically care to review each and every detail of a home – they just want to make sure you’re meeting the standards codes. It is typically an effective use of time to turn in a permit set early, covering the requirements, to get the ball rolling with the city while the architects continue to work on a more thorough drawing set required for construction.
The drawings continue to develop down to the very last details.
Step 6: Selection of a General Contractor
General contractors are interviewed and a good fit is established.
Sometimes a homeowner just knows who they want to partner with (based on a raving recommendation or a specific building philosophy, etc.) and they skip the interview step.
Step 7: Construction Administration
The documents and drawings for the project are now complete and construction begins.
Typically with a project of any complexity the architect is retained to answer questions, deal with clarifications and administer revisions if necessary.
The architect also protects the interests of the homeowner and the integrity of the design.
The architect reviews the invoices, overall costs and scheduling. There is also the option for a homeowner to go the design-build route – but that’s another post…

George
December 21, 2017Amazing tips! Really enjoyed your article. Could I please reach you by email with some further questions. Thanks George.
John
December 22, 2017Great post! Thanks for enlightening us 🙂
H.Ouni
December 28, 2017Thanks George & John.
George, please send us all your questions to info@h2adesign.com.au 🙂